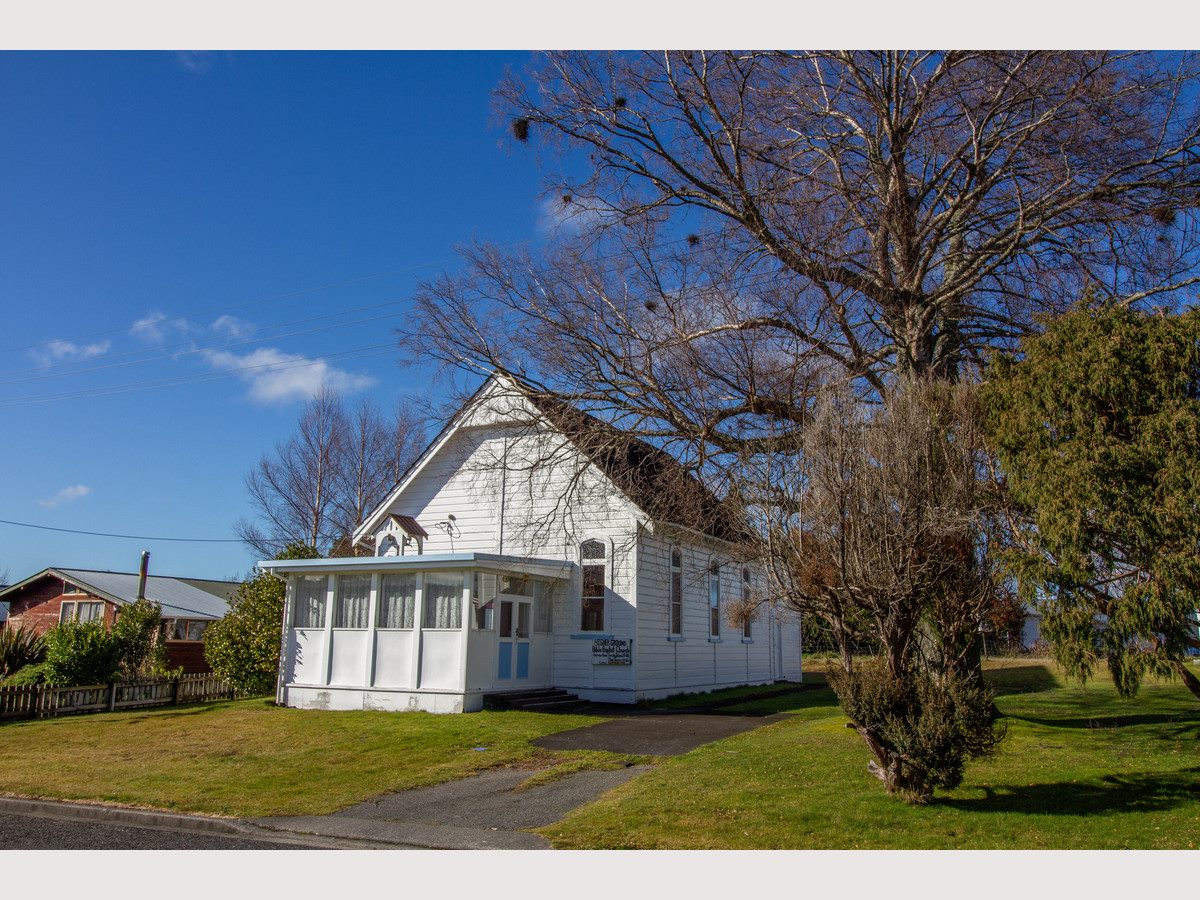
This line is from the poem ‘Mending Wall’ by the Pulitzer Prize-winning American poet. It’s about two neighbours mending a dry-stone wall on their boundary to stop their livestock from wandering.
I never ‘got’ poetry at school – the modern stuff was too obscure for my taste. Likewise, I never got people’s need to build whacking big fences around them as a barrier. I like the fact that people use my section as part of a short-cut to the nearby Catholic church and a school.
So I was a bit concerned when my neighbours started talking about building a fence. Fortunately they were thinking of a ‘soft’ fence of plants along their boundaries. I thought that my future church-raising plans might trample all over their plants. I’ve shared my plans with them and it seems that it’s the back boundary they were keen to mark out.
And we’ll they might be! I was aware that the back section was owned by a widow living in Auckland. She had sold her adjacent chalet to a local neighbour who used the empty section as an occasional garden. Locals also used the empty section to graze their horses as there was an ‘internal’ fence across the back part of my section and the neighbour’s to the driveway. The person who had bought the chalet was keen to buy the section as well.
Needless to say I was a bit perturbed when I visited my church at the end of June to discover a couple of wooden pallets up-ended and hammered in next to the boundary pegs. There was a building site excavated and piles of earth and building materials on the section.
I made some inquiries and discovered that the section had been sold to the chalet-owner, and that they were planning to build a structure of some kind and fence off the section. I managed to track down someone who was able to pass on a message to the new owner who contacted me a few days later.
The conclusion of our conversation was that they were determined to build a 2m high fence out of wooden pallets on their side of our boundary, but not the boundary with my other neighbour. Needless to say I was less than impressed that the first thing I’d see when I opened my bedroom curtain was a black fence made out of old pallets. I already have an ordinary fence on one boundary, which was one too many.
They rejected outright my offer to pay for more appropriate fencing materials if they were prepared to construct it. Fortunately the Fencing Act gives me a vehicle to protect my property rights by enabling me to build a fence on the boundary. It’ll be tall enough to screen out their structure, but still give me a sense of space. It’ll also be a pretty white picket fence with pales shaped to reflect the pitch of the nave roof.
Unfortunately they rejected my proposal in the legal notice I gave them, and proposed that I pay for the materials and construction of a fence on the boundary line, or agree to them building the fence they’ve proposed. Then came the delaying tactics. They would consider my proposal if I got a proper quote and provided it to them by a certain date.
Quote duly obtained and provided, it took about three days for them to decline my proposal. No surprises there. I advised them that I would make application to the Disputes Tribunal to adjudicate on the matter, and submitted my application the following day.
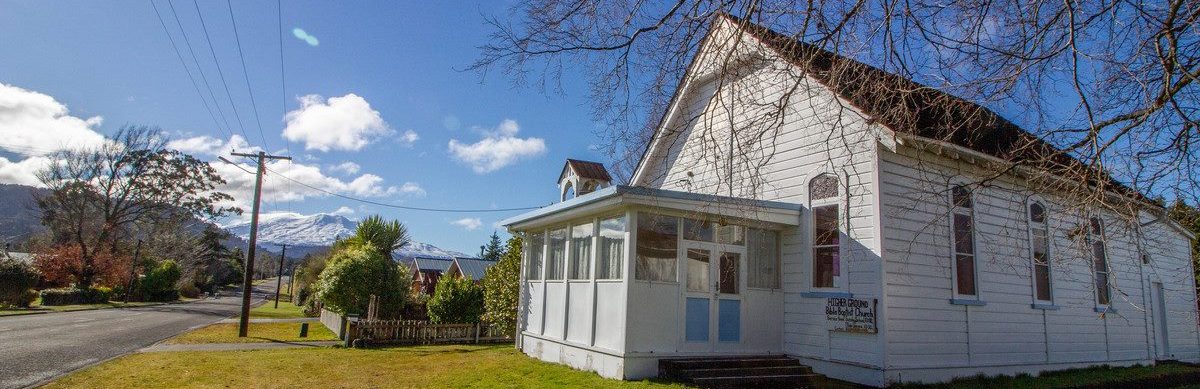
Imagine my surprise when I returned to Ohakune the following weekend to find a ‘fence’ erected close to my boundary line. So close, that it’s not possible for me to build a fence on the boundary line without them moving their pallets. The picture at the top of this post is what I discovered on my return.
I made contact with the owner to discuss access to their section to allow for construction of a fence on the boundary line, and moving the pallets to allow for construction to take place. She refused to meet with me and stated that moving the pallets to allow for construction was “not happening”. So it’s off to the Disputes Tribunal we go to get a ruling on access, construction costs, and materials.
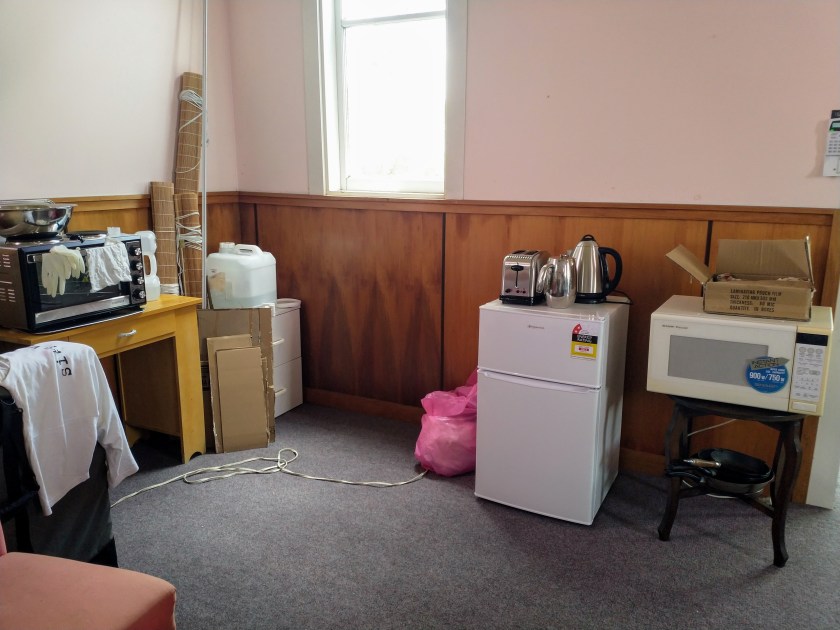
Meanwhile, I’ll get the remains of the internal fence and the tree stumps removed so that section of the lawn can be mowed and made tidy. Building a fence was going to be one of the last things I was planning to do, but now it looks like it’ll be one of the first! At least my cousin will have something to hitch her horse to if she rides over from the Rangitikei.
Next time: The countdown begins


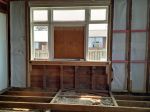
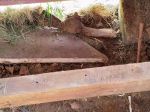
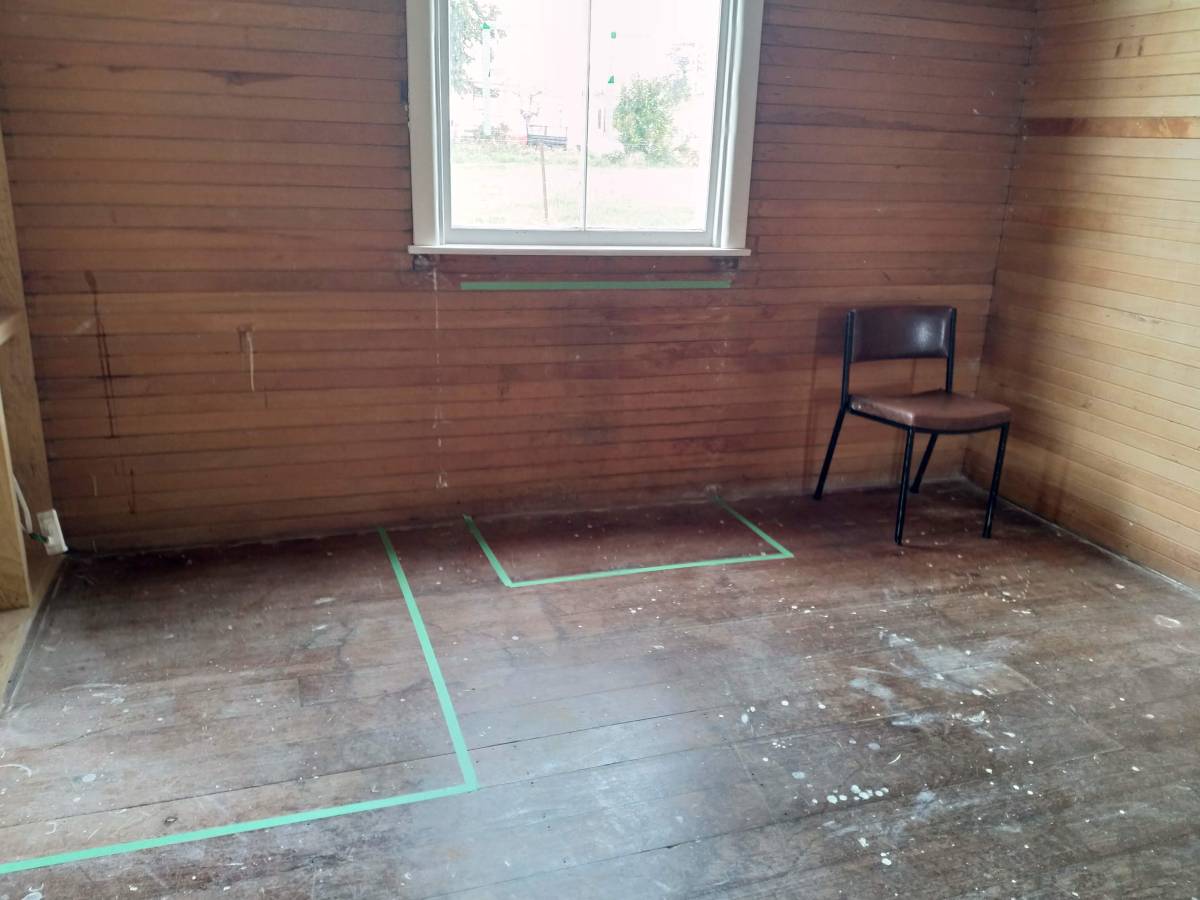
 As this close-up shows, there were new bearers and floor joists inserted under the nave platform, with the piles under the platform higher than the piles under the rest of the nave and vestry. They’d cut away some of the end wall to insert the bearers, packing them up with bits of floorboard and other random bits of wood.
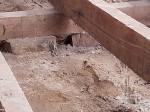